
We have an extra bedroom that was Justin's office. However, he got a laptop and could usually be found downstairs. So about two months ago I claimed it.
I had a vision. My cricut is pink and Justin has a blue antique chair that has no other home except for that room. So I combined the two colors and found some pictures I wanted to use. Here was some of my inspiration...

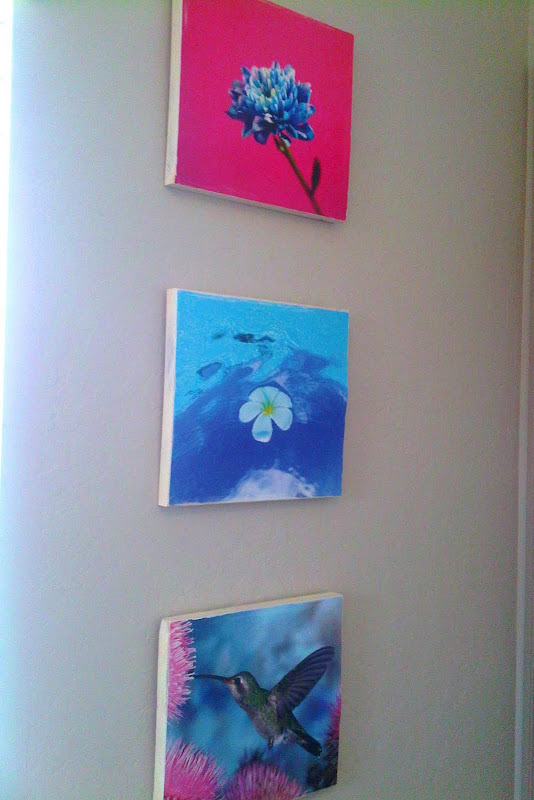
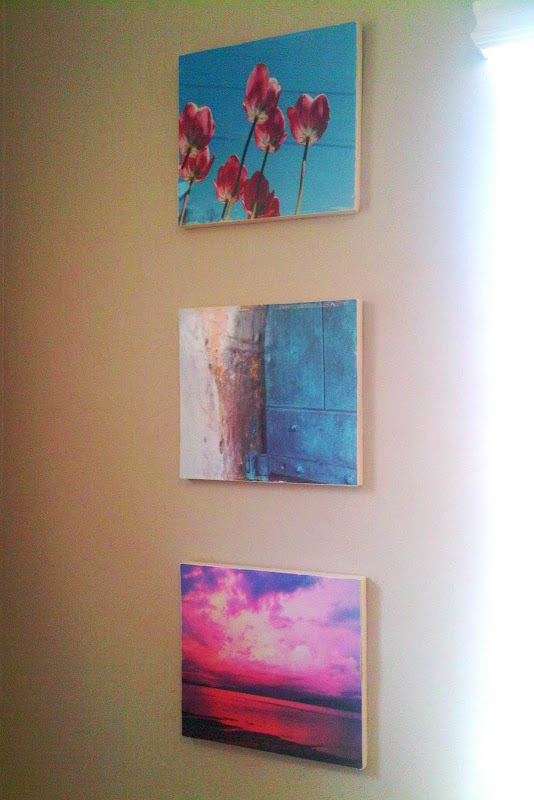
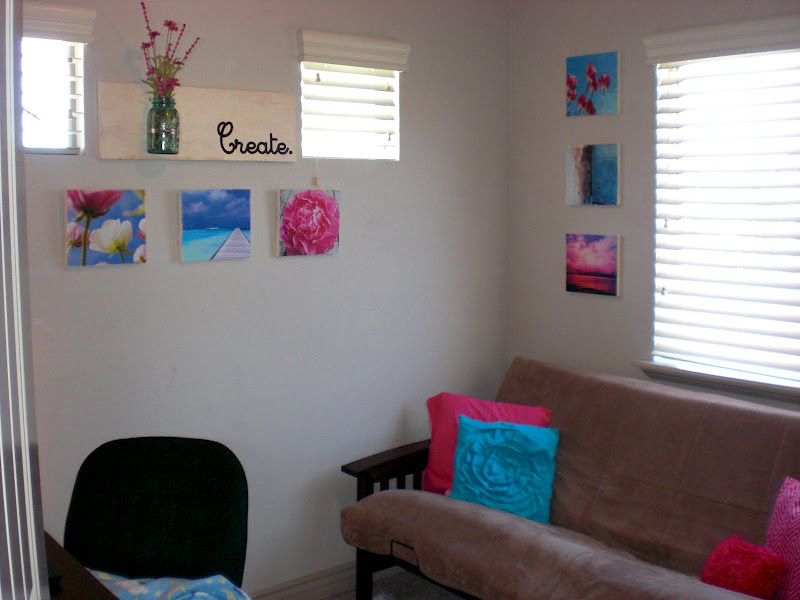
I was so excited! I had Justin buy a couple of pieces of wood and cut them down to 10x10. He cut me about 12 plus one larger piece of wood. My dad happens to be a printer so he printed me some of the above pictures in a 10x10 size. I painted and sanded the wood and modge podged the pictures on the front. LOVE them. And they were extremely cheap since the wood was the only thing purchased.
I hung three of them in a row on either side of the window (6 total on that wall)
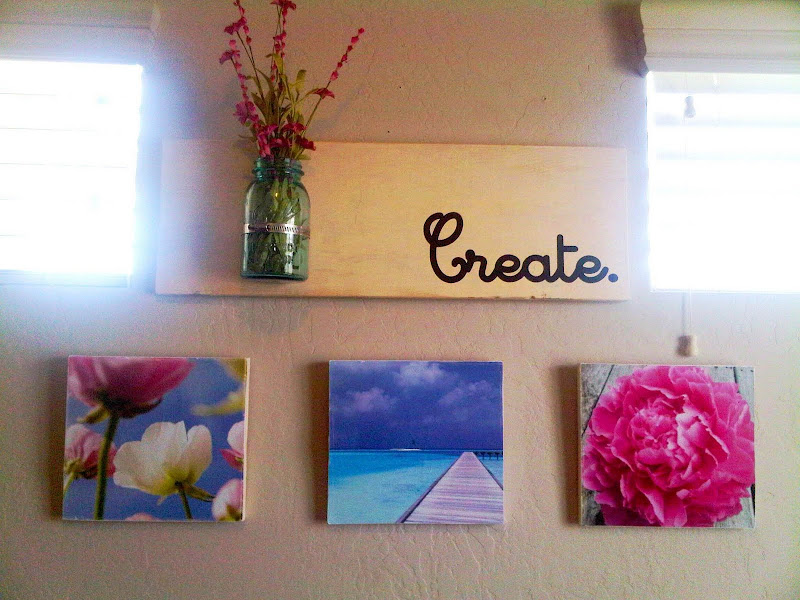
Then I took the larger piece of wood and painted it the same color as the sides of the picture blocks I just made. I had Justin pick up a pipe clamp from Home Depot and stuck a blue mason jar to the wood. (Btw I think I found a great way to turn mason jars blue, we may be attempting it for Stef's wedding). Add some flowers that are half off from hobby lobby, and a vinyl cutout from the cricut, and ta-da, this wall is complete.
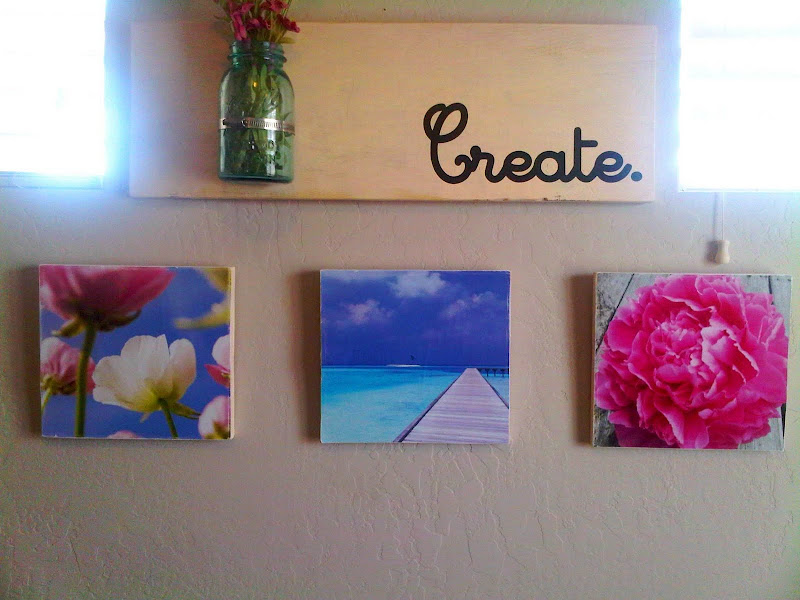
Yes, there are two tiny windows in this room...strange I know.
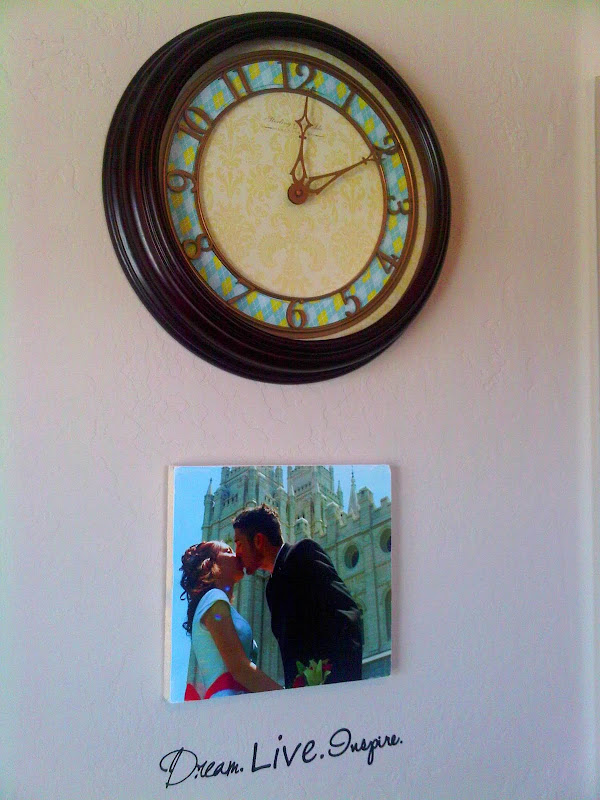
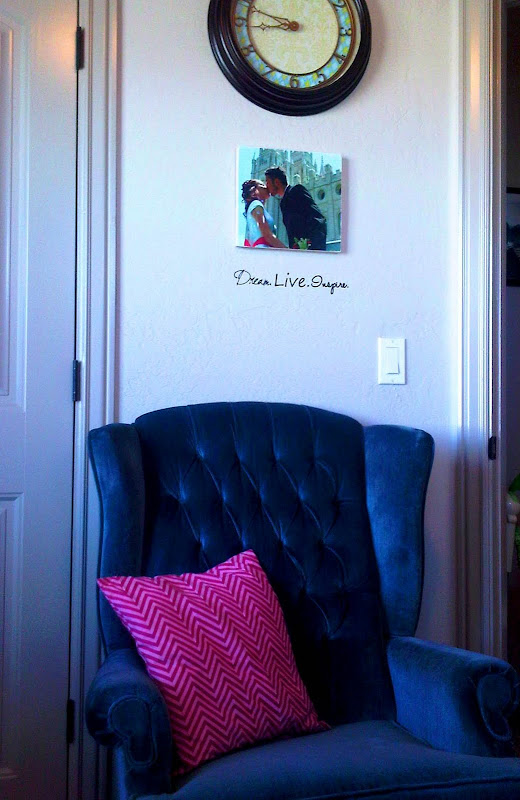
Turned to the wall above the chair. Found a wedding picture that had some pink and blue so I modge podged it onto a block of wood as well. Added another quote with my cricut, and added some scrapbook paper to girlify the clock, haha!
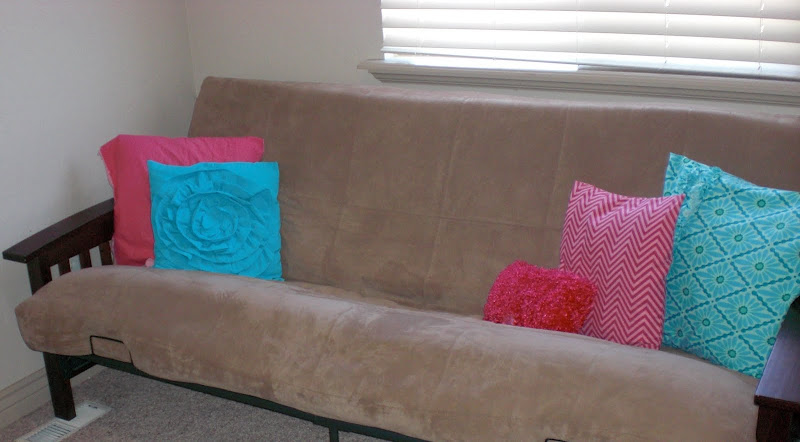
We also have a futon in this room (it's technically the guest room), so pillows were next on the list. I found and used some awesome tutorials.
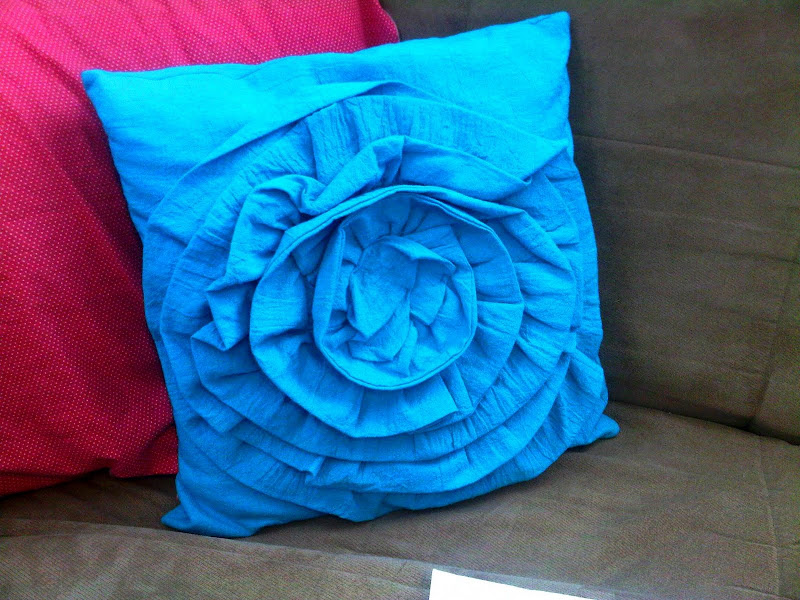
First up, this bad boy.

He can be found here. Love the ruffles, I think I will love them even more when I attempt to re-do our bedroom and use a similar fabric as the tutorial.
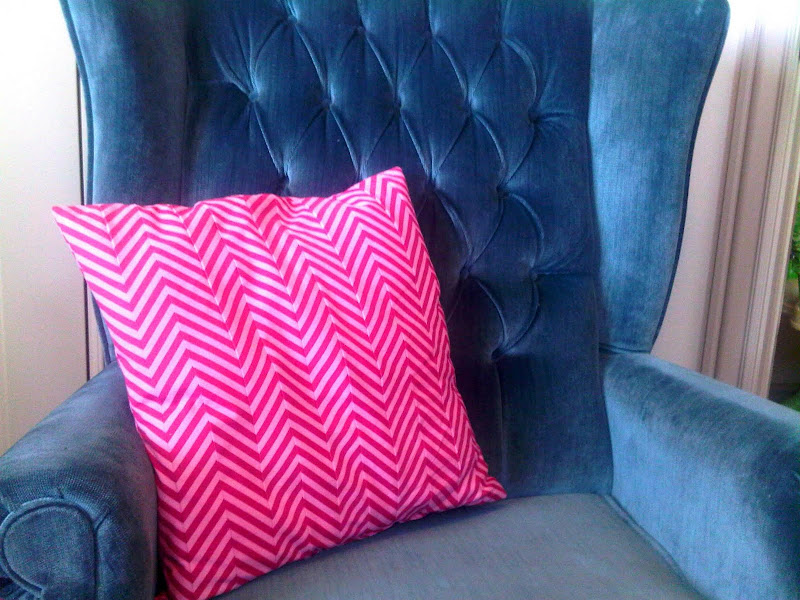
Second was this lovely lady. This was done using striped fabric. Found here. my Favorite!
Next I took on this guy. More of a challenge, but also more of a reward.
Found Here. The one behind it is not complete (I need a new zipper and my motivation is lacking, but someday will look like This.)
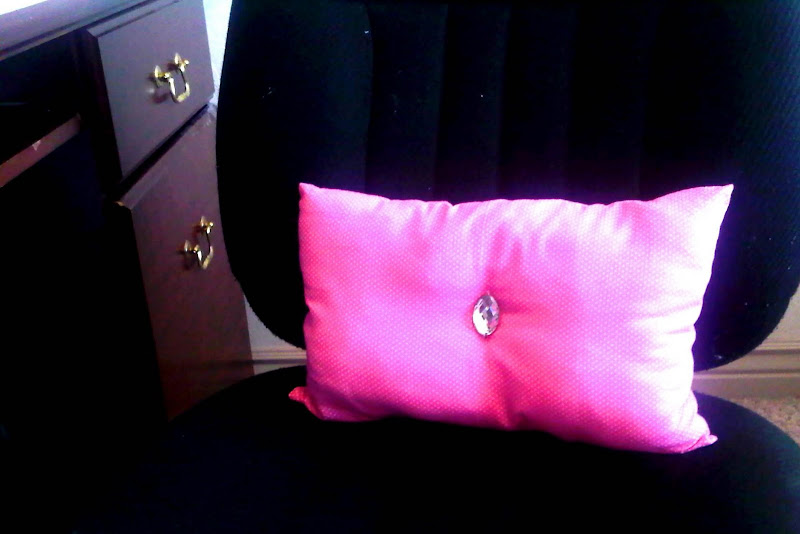
I also made a few small pillows. One for my chair. No tutorial for this one, I just cut, sewed, adding batting, and hand sewed the jewel on (which by the way I am no good at, how in the world do you hand sew?!?)
And of course the messy desk area where most of the work gets done...

Someday I will re-finish this desk. Until then it will be ugly, and not seen :).
I had a hard time capturing good pictures of the whole room, the light was not cooperating. But you get the idea, I hope you liked it! It is now my haven.

I had a vision. My cricut is pink and Justin has a blue antique chair that has no other home except for that room. So I combined the two colors and found some pictures I wanted to use. Here was some of my inspiration...
I was so excited! I had Justin buy a couple of pieces of wood and cut them down to 10x10. He cut me about 12 plus one larger piece of wood. My dad happens to be a printer so he printed me some of the above pictures in a 10x10 size. I painted and sanded the wood and modge podged the pictures on the front. LOVE them. And they were extremely cheap since the wood was the only thing purchased.
I hung three of them in a row on either side of the window (6 total on that wall)
Then I took the larger piece of wood and painted it the same color as the sides of the picture blocks I just made. I had Justin pick up a pipe clamp from Home Depot and stuck a blue mason jar to the wood. (Btw I think I found a great way to turn mason jars blue, we may be attempting it for Stef's wedding). Add some flowers that are half off from hobby lobby, and a vinyl cutout from the cricut, and ta-da, this wall is complete.
Yes, there are two tiny windows in this room...strange I know.
Turned to the wall above the chair. Found a wedding picture that had some pink and blue so I modge podged it onto a block of wood as well. Added another quote with my cricut, and added some scrapbook paper to girlify the clock, haha!
We also have a futon in this room (it's technically the guest room), so pillows were next on the list. I found and used some awesome tutorials.
First up, this bad boy.
He can be found here. Love the ruffles, I think I will love them even more when I attempt to re-do our bedroom and use a similar fabric as the tutorial.
Second was this lovely lady. This was done using striped fabric. Found here. my Favorite!
Next I took on this guy. More of a challenge, but also more of a reward.
Found Here. The one behind it is not complete (I need a new zipper and my motivation is lacking, but someday will look like This.)
I also made a few small pillows. One for my chair. No tutorial for this one, I just cut, sewed, adding batting, and hand sewed the jewel on (which by the way I am no good at, how in the world do you hand sew?!?)
And of course the messy desk area where most of the work gets done...
Someday I will re-finish this desk. Until then it will be ugly, and not seen :).
I had a hard time capturing good pictures of the whole room, the light was not cooperating. But you get the idea, I hope you liked it! It is now my haven.

No comments:
Post a Comment