
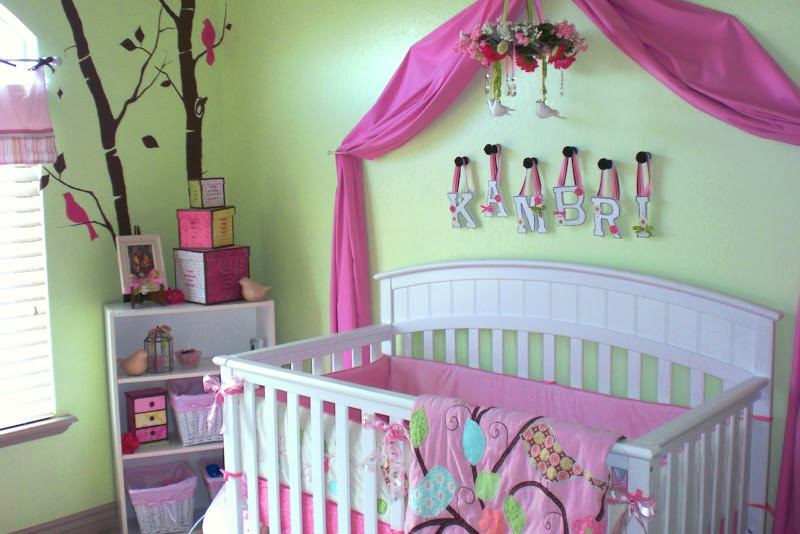
So I just realized that I never did post anything about Kambri's finished room. Her room is a combination of Do it yourself projects, and the cheapest but nicest stuff I could find....with a splurge or two thrown in. Here it is:
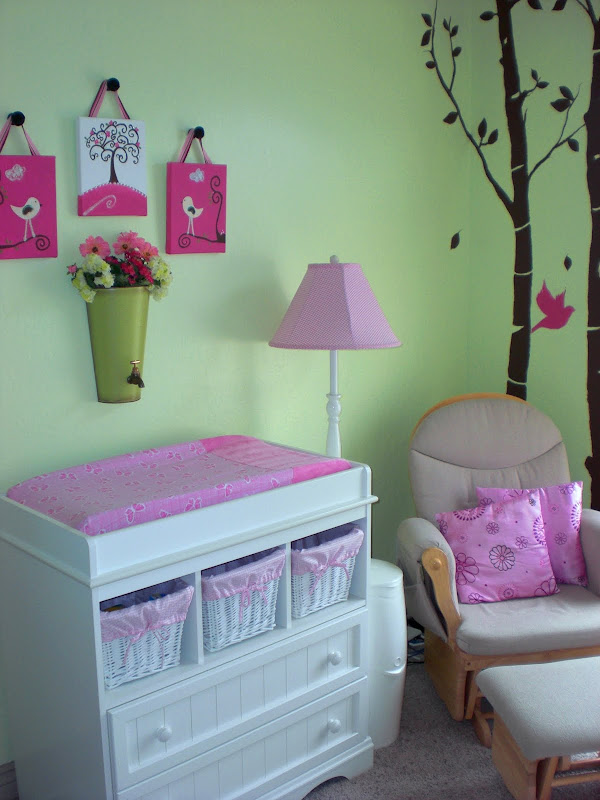
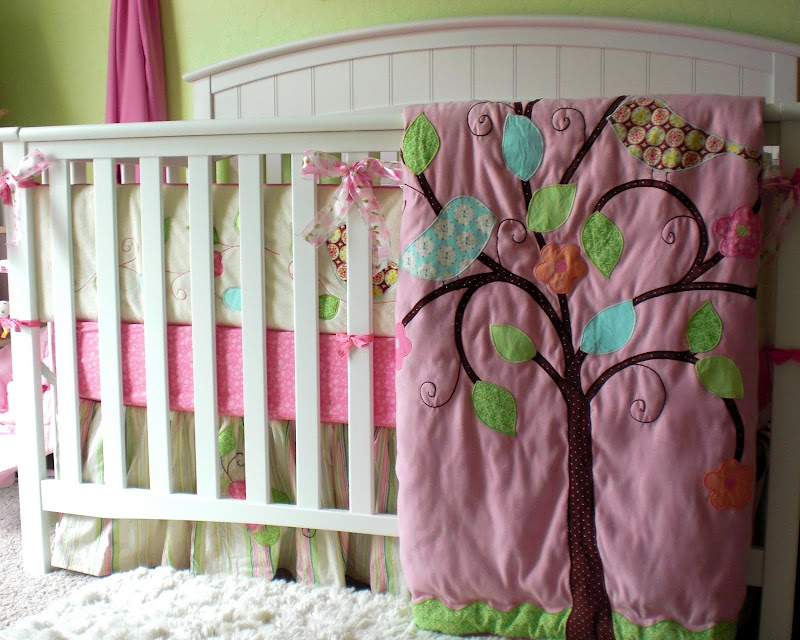
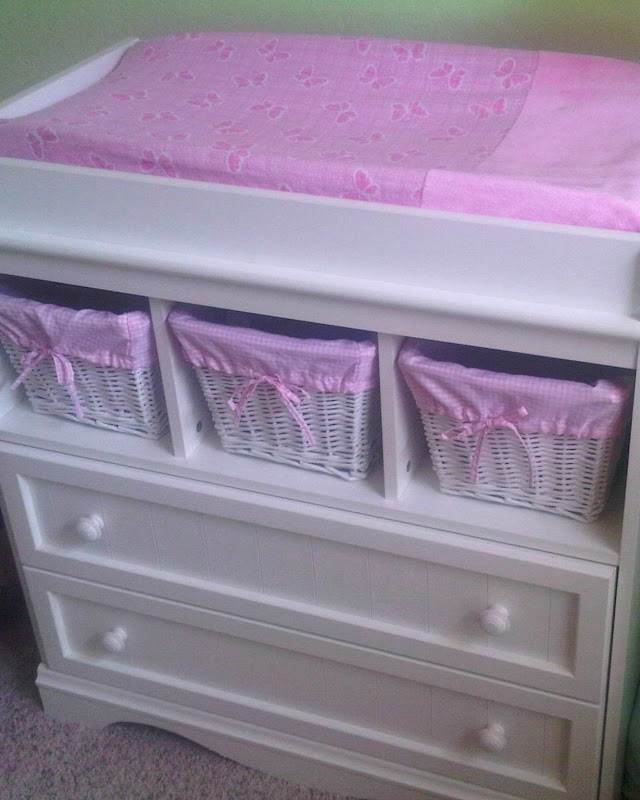
The Splurges: The bedding set. I believe it was somewhere around $150. I know... That is A Lot of money for a sheet, bumper, cribskirt, and blanket. I totally agree. But I had several other things I was going to do myself and I was just worried if I tried this one too I either wouldn't get it to look right or I wouldn't finish. Another one might be the lamp. It was $70 from Target. I have seen a lot of DIY options where you spraypaint the base and get a cheap top and embellish it or cover it in fabric. One day I will try this. The dresser is probably the last expensive thing in here. It was $150 from Walmart.com. It had the look I was going for and I loved the option of the cute baskets.
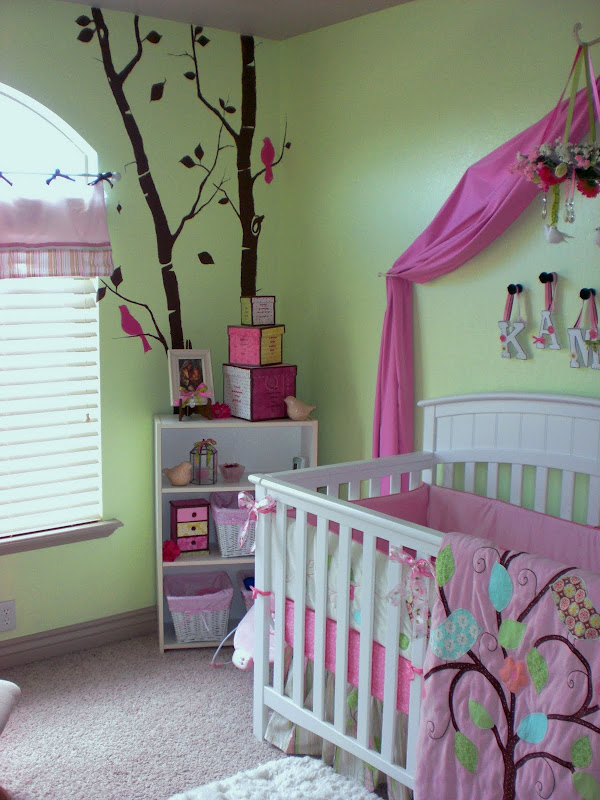
Cheapest but nicest stuff I could find: The Crib. It was also $150 from Walmart.com. I thought about getting a used one and fixing it up...but I was just worried about getting it all cleaned up and the possibility of recalls, so I bought it new. It actually isn't a terrible price for the way it looks. Some others that I found are easily a few hundred dollars. The bookshelf and glider are also from Walmart. They were something I already had but I believe initially cost around $30 and $95 respectively. The cute baskets and liners are from....you guessed it....Walmart.com. Pretty good prices for those. I think somewhere around $15 for the three of them including the liners.
This Cute Sign I got from Hobby Lobby a few weeks ago. It was half off making it somewhere around 4$. I loved how it matched the outdoor theme I had going, so cute!

Now the fun stuff! Do It Yourself:
I started with some fabric I liked that matched the pink and green. Nothing special or expensive. Here was my first project. The changing pad cover.
The Tutorial can be found Here. That one was really easy, only taking about an hour or so (and I could basically be considered a beginner at sewing).
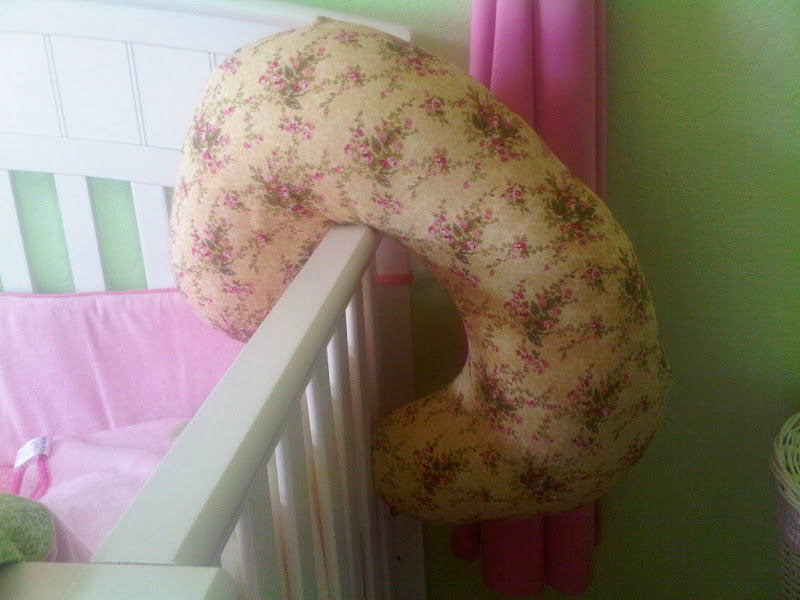
After that I moved on to the boppy cover. Another easy project. Tutorial is Here.
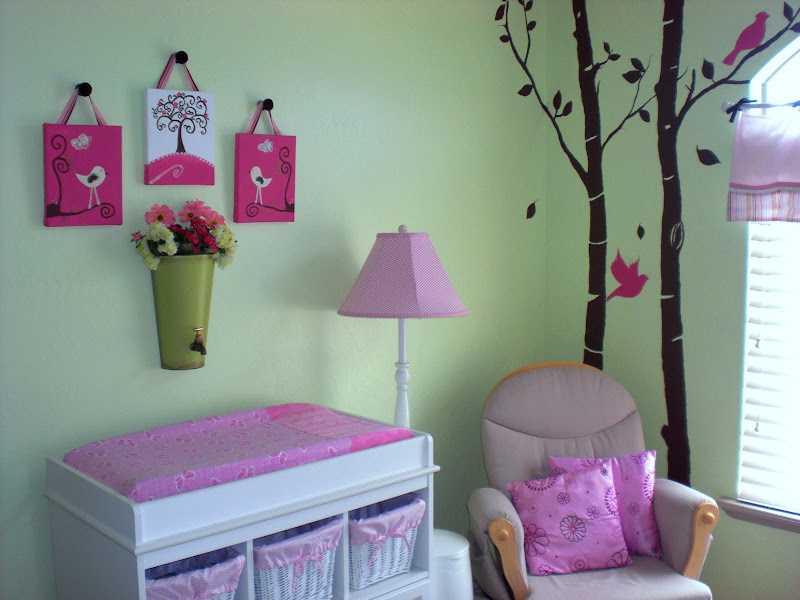
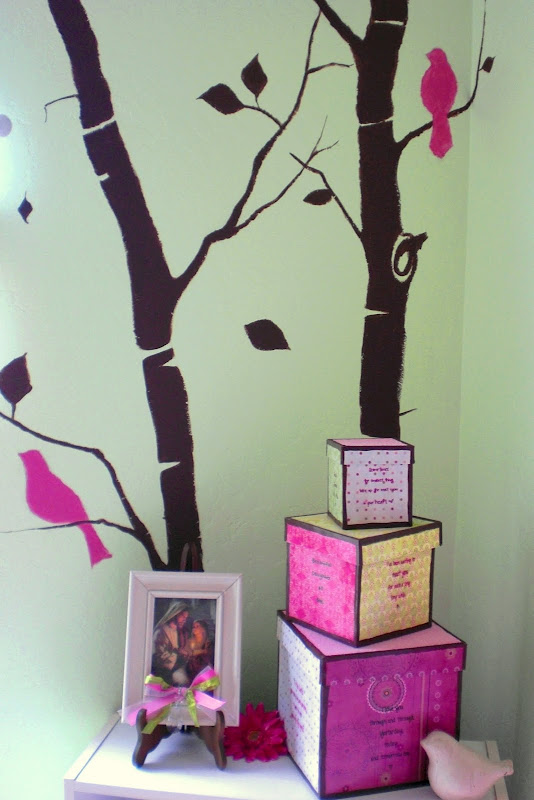
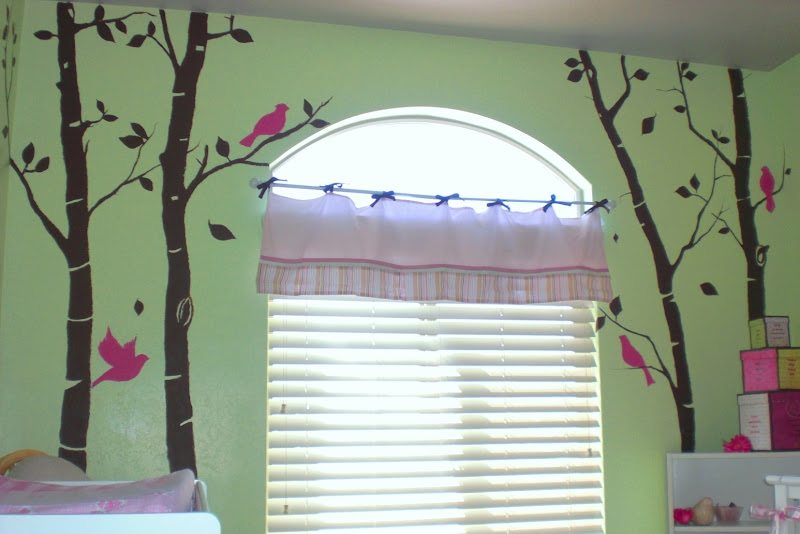
I knew I wanted Trees on the walls. I started looking at vinyl decals. Etsy.com has some great options! But by this time I had spent a lot of money and was looking for some ways to save. So we painted these ourselves. Justin sketched them freehand on the wall, and we painted them together. Cost for paint was approximately $10. Plus several hours of time.
I'm pretty happy with how they turned out. They completely create the look I wanted. They are hard to get a decent picture of though...
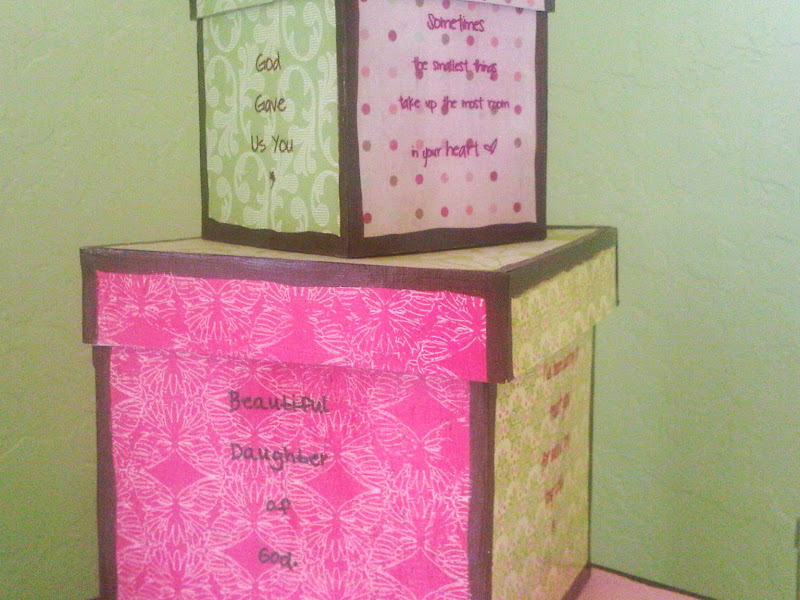
Next were the big items for the bookshelf. I found an adorable set of stacking boxes on etsy.com. They had cute quotes and were the perfect colors. However, I just couldn't pay the $60 they wanted for them. So I bought a set of boxes at Roberts...I think it came with seven boxes. I'll have to think of something to use the others for. I also picked up some scrapbook paper and modge podge. I printed cute baby quotes directly onto the scrapbook paper in different fonts and then modge podged them to the boxes. I finished by using a little of the brown paint leftover from the trees and painting the edges so you couldn't see the transfer of different papers.
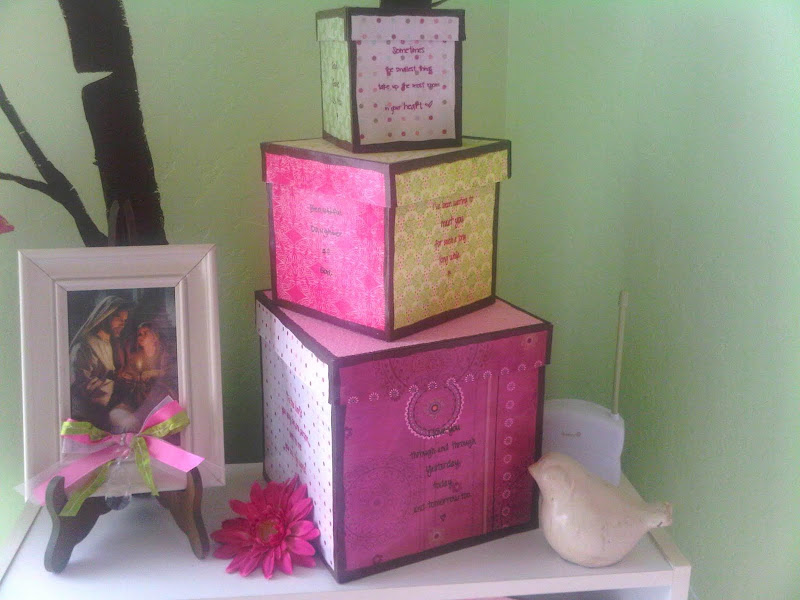
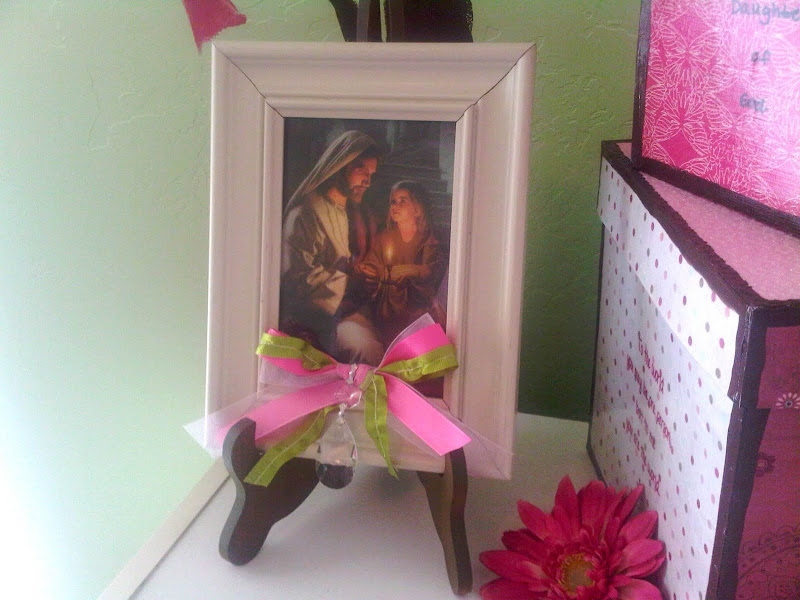
I knew I needed a Picture of Jesus. So I found an old frame and hot glued some ribbon and a crystal I already had so that it matched the room better.
This cute box is from my trip with my sisters to Color Me Mine in Provo. Fun place. Kind of expensive. But fun! We stuck Kambri's handprint on the top because I didn't have one yet.

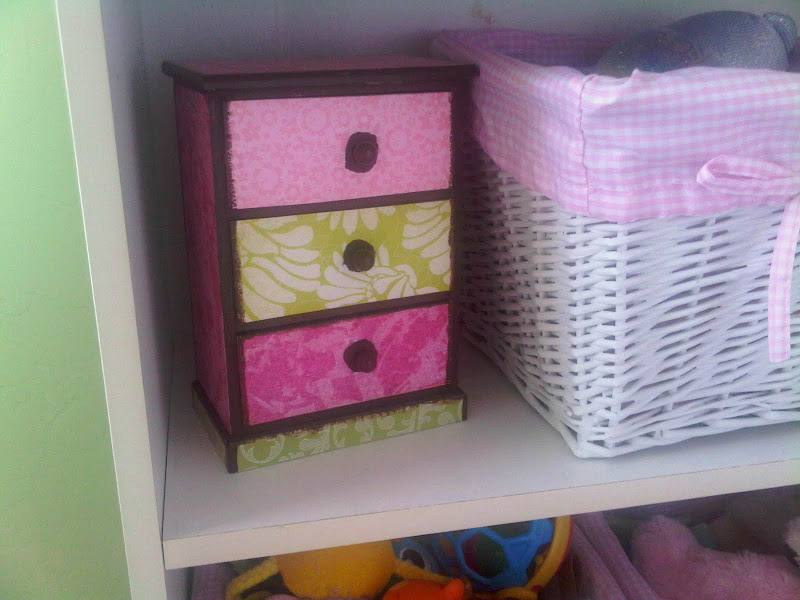
This trinket box was done the exact same way as the stacking boxes.
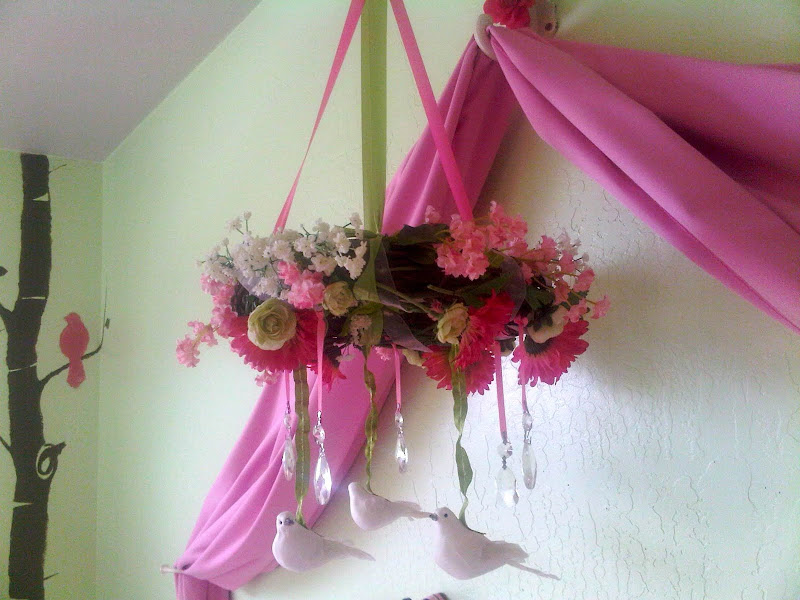
I also had two blank walls. I bought regular fabric and hung it from some rod iron hooks from rodworks to get the slight canopy feel.
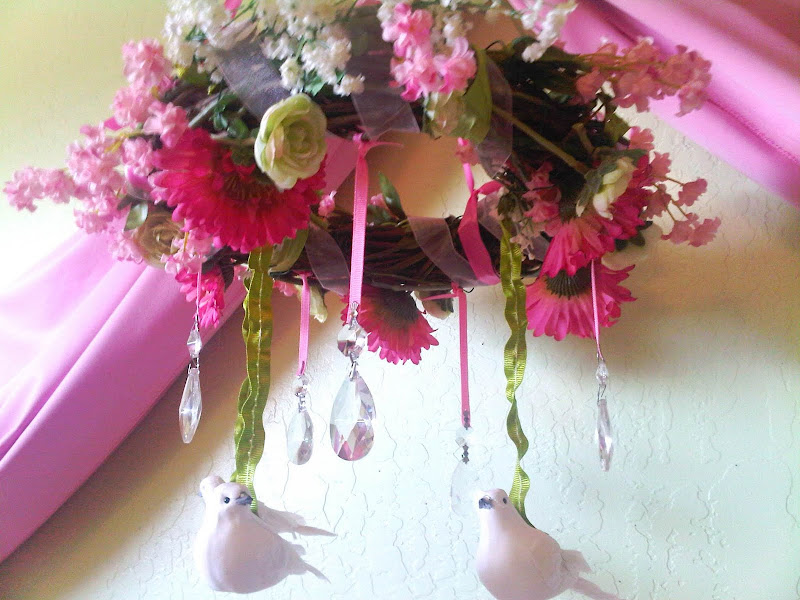
The one at the top had a hook hanging out for the mobile. The mobile was really easy. Just buy a grapevine wreath, flowers, and ribbon and weave them all together. Wrap a thin wire around it. The birds were hot glued onto the ribbon.
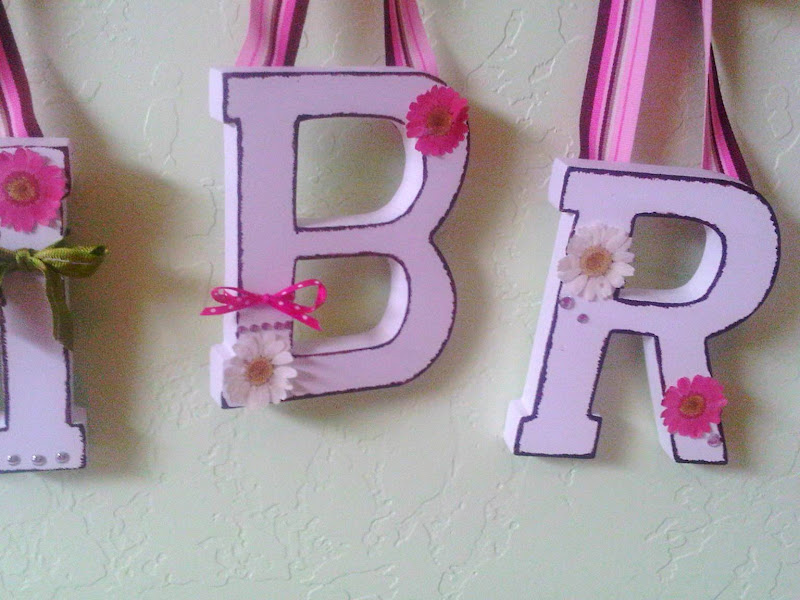
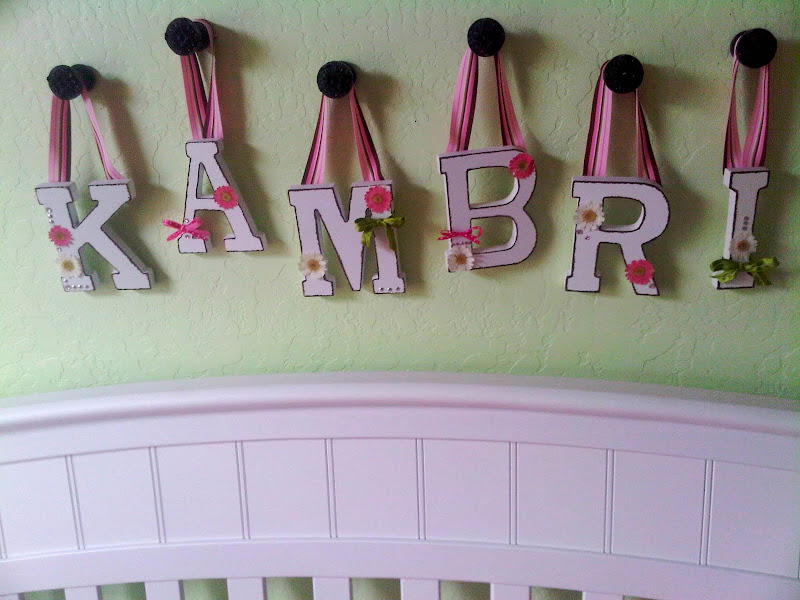
I wanted her name in the room. But online each letter was at least $10...some were 20 or 30! Whoa. So I bought the letters plain from Roberts for about $3 each. I also bought some dried flowers, ribbon, and little crystal embellishments. Everything was hot glued. The edges were painted with the same brown paint (had to get my moneys worth right?). I really like the way they turned out.
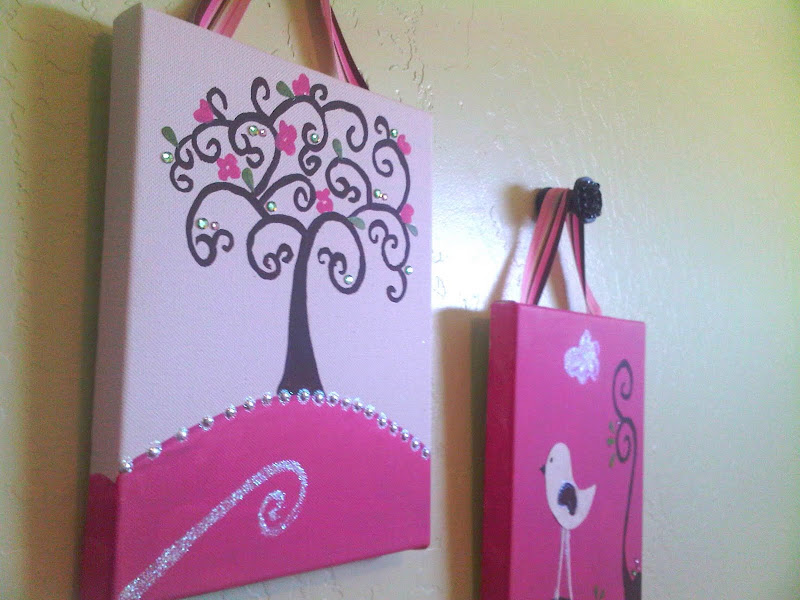
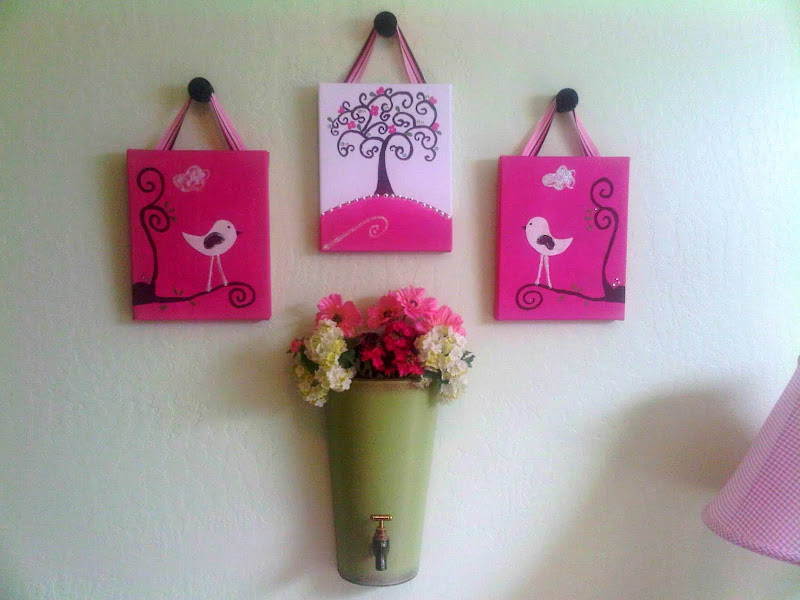
The other wall was blank as well. I knew I wanted more birds. I found adorable artwork online, but we had the same problem with expenses. I looked and looked at them. Finally I decided they didn't look that hard to do. So I painted them myself. The birds were freehand cut from scrapbook paper (I didn't have my cricut then). The pink and brown paint is, again, the leftover wall paint. I used some of the crystals I bought for her name. The only thing I purchased for this project was the canvas and some glitter for the clouds.
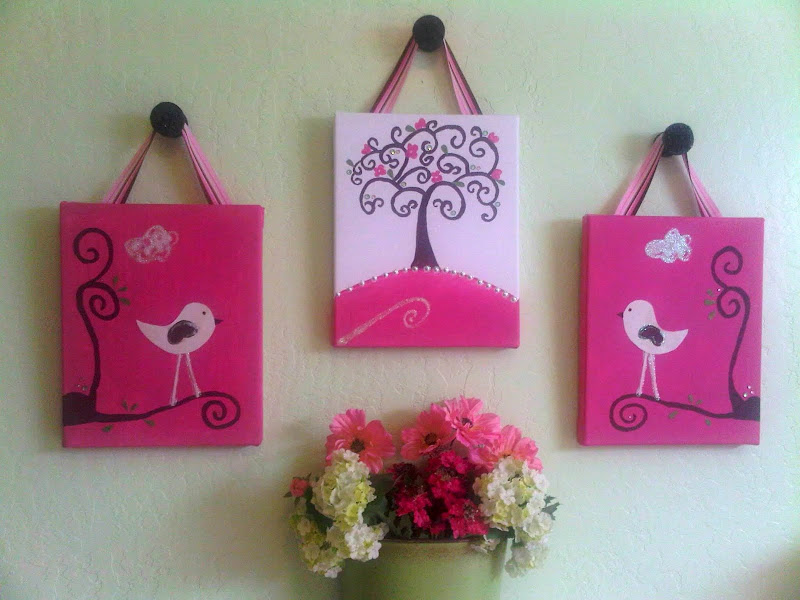
I also love that the flower display below the pictures were 75% off at rod works because they were considered 'spring' decor and I bought them in the summertime!
I Love her room. It's like a pretty spring day all year round. Hopefully you do too and this wasn't too boring!

The Splurges: The bedding set. I believe it was somewhere around $150. I know... That is A Lot of money for a sheet, bumper, cribskirt, and blanket. I totally agree. But I had several other things I was going to do myself and I was just worried if I tried this one too I either wouldn't get it to look right or I wouldn't finish. Another one might be the lamp. It was $70 from Target. I have seen a lot of DIY options where you spraypaint the base and get a cheap top and embellish it or cover it in fabric. One day I will try this. The dresser is probably the last expensive thing in here. It was $150 from Walmart.com. It had the look I was going for and I loved the option of the cute baskets.
Cheapest but nicest stuff I could find: The Crib. It was also $150 from Walmart.com. I thought about getting a used one and fixing it up...but I was just worried about getting it all cleaned up and the possibility of recalls, so I bought it new. It actually isn't a terrible price for the way it looks. Some others that I found are easily a few hundred dollars. The bookshelf and glider are also from Walmart. They were something I already had but I believe initially cost around $30 and $95 respectively. The cute baskets and liners are from....you guessed it....Walmart.com. Pretty good prices for those. I think somewhere around $15 for the three of them including the liners.
This Cute Sign I got from Hobby Lobby a few weeks ago. It was half off making it somewhere around 4$. I loved how it matched the outdoor theme I had going, so cute!
Now the fun stuff! Do It Yourself:
I started with some fabric I liked that matched the pink and green. Nothing special or expensive. Here was my first project. The changing pad cover.
The Tutorial can be found Here. That one was really easy, only taking about an hour or so (and I could basically be considered a beginner at sewing).
After that I moved on to the boppy cover. Another easy project. Tutorial is Here.
I knew I wanted Trees on the walls. I started looking at vinyl decals. Etsy.com has some great options! But by this time I had spent a lot of money and was looking for some ways to save. So we painted these ourselves. Justin sketched them freehand on the wall, and we painted them together. Cost for paint was approximately $10. Plus several hours of time.
I'm pretty happy with how they turned out. They completely create the look I wanted. They are hard to get a decent picture of though...
Next were the big items for the bookshelf. I found an adorable set of stacking boxes on etsy.com. They had cute quotes and were the perfect colors. However, I just couldn't pay the $60 they wanted for them. So I bought a set of boxes at Roberts...I think it came with seven boxes. I'll have to think of something to use the others for. I also picked up some scrapbook paper and modge podge. I printed cute baby quotes directly onto the scrapbook paper in different fonts and then modge podged them to the boxes. I finished by using a little of the brown paint leftover from the trees and painting the edges so you couldn't see the transfer of different papers.
I knew I needed a Picture of Jesus. So I found an old frame and hot glued some ribbon and a crystal I already had so that it matched the room better.
This cute box is from my trip with my sisters to Color Me Mine in Provo. Fun place. Kind of expensive. But fun! We stuck Kambri's handprint on the top because I didn't have one yet.
This trinket box was done the exact same way as the stacking boxes.
I also had two blank walls. I bought regular fabric and hung it from some rod iron hooks from rodworks to get the slight canopy feel.
The one at the top had a hook hanging out for the mobile. The mobile was really easy. Just buy a grapevine wreath, flowers, and ribbon and weave them all together. Wrap a thin wire around it. The birds were hot glued onto the ribbon.
I wanted her name in the room. But online each letter was at least $10...some were 20 or 30! Whoa. So I bought the letters plain from Roberts for about $3 each. I also bought some dried flowers, ribbon, and little crystal embellishments. Everything was hot glued. The edges were painted with the same brown paint (had to get my moneys worth right?). I really like the way they turned out.
The other wall was blank as well. I knew I wanted more birds. I found adorable artwork online, but we had the same problem with expenses. I looked and looked at them. Finally I decided they didn't look that hard to do. So I painted them myself. The birds were freehand cut from scrapbook paper (I didn't have my cricut then). The pink and brown paint is, again, the leftover wall paint. I used some of the crystals I bought for her name. The only thing I purchased for this project was the canvas and some glitter for the clouds.
I also love that the flower display below the pictures were 75% off at rod works because they were considered 'spring' decor and I bought them in the summertime!
I Love her room. It's like a pretty spring day all year round. Hopefully you do too and this wasn't too boring!

4 comments:
That room looks sooooo cute! Like a designer did it on a show!! Amazing!! You have serious skill and talent!
So so cute!!! Love it!! Now you can come and decorate my girls room :)
I am seriously SO beyond jealous of this room and your skills!! You are SO talented!!!
Post a Comment